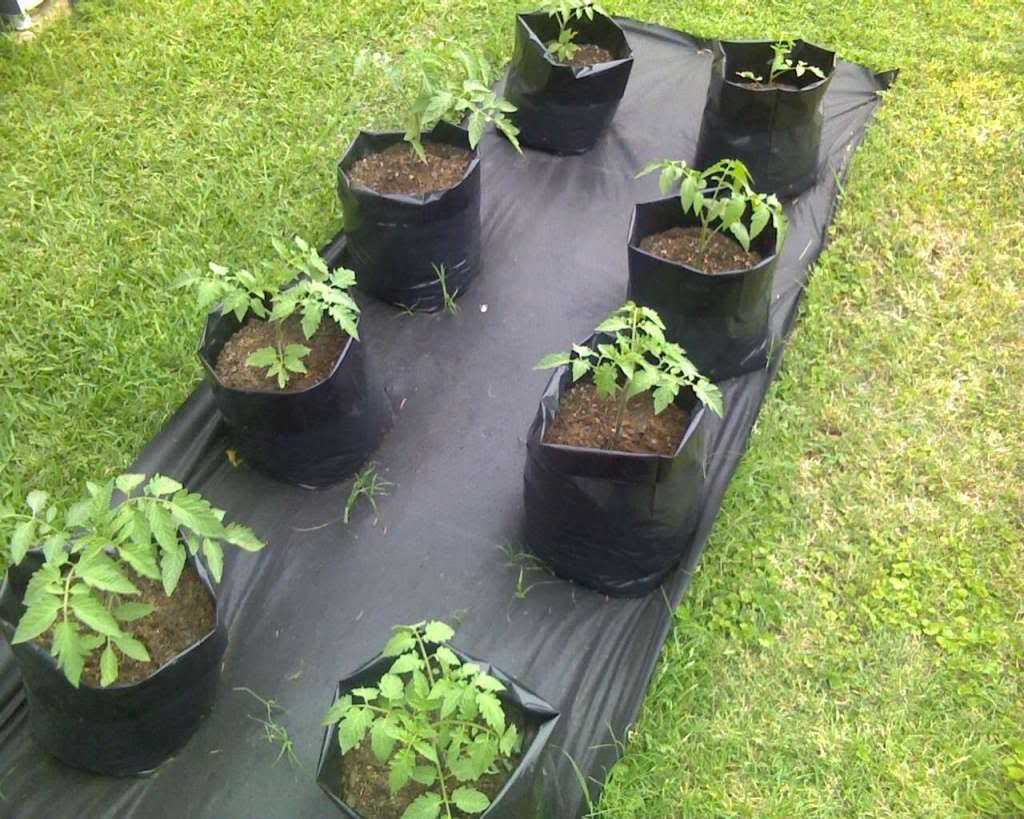
If somebody wants to grow their own vegetables and have limited space, vegetables can still be grown in containers. Herbs and vegetables can be grown in containers . Some people who have a big area for their vegetables garden, they also like to use containers. Maybe they have try certain vegetables in their soil and it does not grow good in their soil, but they grow good in their containers. A lot of people like to grow herbs in containers, so they can have them real close to their house.
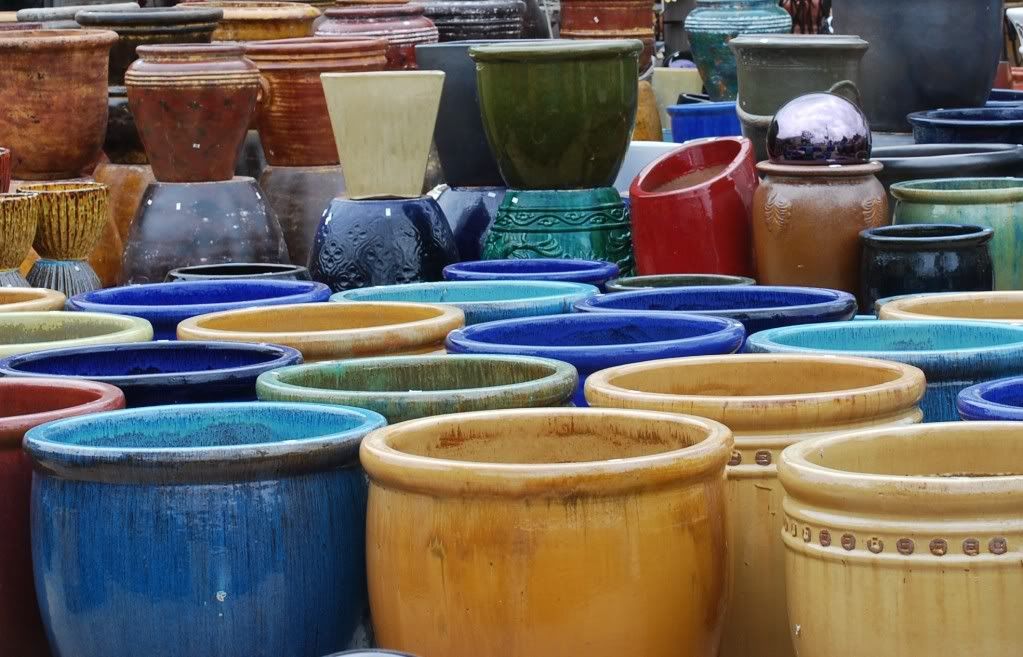
There are many different kinds of containers that can be use for growing vegetables, fruits, and herbs. Some of the different kinds of containers are plastic, clay, or terra-cotta pots. Window boxes and hanging baskets can be used for the same purpose of growing different types of plants. Plastic containers are light and inexpensive, and they come in any style or shape you will want to use. These plastic containers are very good to use for growing vegetables and fruits.
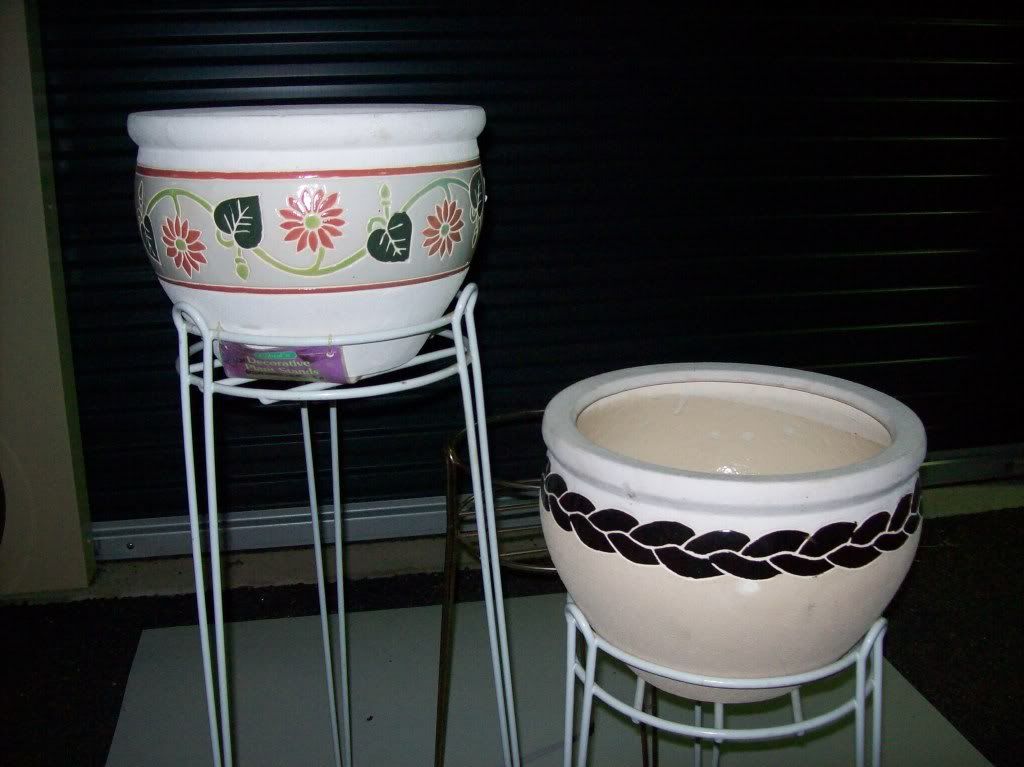
If a clay or terra-cotta pots is use, it will need to be line with plastic because they will lose moisture rapidly. If you decided not to have the pot permanent fixed somewhere, you will need to make sure you can move the pot because it will be very heavy because of all the soil. If you will be moving the heavy pots, you will probably need to invest in a caddy or another device on wheels, that are used for moving large containers. Window boxes are good for growing herbs and leafy lettuce crops. Hanging baskets can be use to grow herbs, small bush tomatoes, and also trailing varieties such as strawberries.
The bigger the containers is the better,because a container will be about the size of a bucket which is about a two gallon and twelve inches diameter and this will be fine for most vegetables. If you are planning on growing larger plants like squash, cucumbers, and melons these vegetables will need to have a container twice the size of the containers that I just talk about. The depth of the container is also important. The depth of the containers should be at least twelve inches deep to allow a good root run and a reservoir of moisture. Deeper pans will retain water but will need more potting mix for this one. Shallow pots will dry out real quick.
The best one to use as far as, potting soil goes is to go and buy your potting soil from a garden center or store. Any stores that sells garden supplies. Using store brought potting soil it will be weed free and free drainage and it will retain moisture and the right nutrients to give your plants a real good one. If you make your own compost you can used it if it is completely decomposed and when you are looking at it the soil needs to look like rich soil. If you are using compost and do not want to start having problems with weeds or diseases, only fill the bottom half with compost and put the store brought potting soil in the top half. When the end of the season comes, do not throw the contents of your containers away, because you can recycle the contents by putting it in a vegetable patch as much, reusing it again in your containers or adding it to the compost pile if you have one. If you are reusing your containers always fluff it up and fill the container halfway, then filled the containers up with fresh mix. Because blueberries and currants have to be in their pots for a longer time, always use a soil-based potting mix instead a soils mixes. Blueberries are real easy to grow in containers with the soil they need to grow. Blueberries has to have acidic soil to grow. For a long-term plants, you can start with smaller pots, then move to a large one when the roots fill the small one. Always have your container in a warm, sheltered place and the soil is kept moist, you can sow all vegetables directly into your containers. For crops that are closely spaced such as lettuce, onions, or greens can be sow, allowing a few spaces. Cover with potting mix and always keep the surface moist. When you thin the seedlings in stages do this where you will have an even distribution of plants. If you are planning on planting large plants, like cucumbers, eggplant, tomatoes, and peppers are best planted individually. Plant these plants in a large container with at least a 2-gallon volume or 12- inch diameter. If you are harvesting vegetables you will need to move your containers into a greenhouse, garage, or a well-lit room. The potting soil should last about four weeks. After that vigorous, vegetables will need to be fed regular, so use a general purpose or balanced fertilizer for leaf and root crops and a high-potassium one for fruit-bearing vegetables such as tomatoes, eggplant, and peppers. Watering is the biggest chore when you are growing vegetables or other edible crops in containers. Mid-morning and late afternoon are the best time to water your plants.
Some of the vegetables that are good to grow in containers are beet, pepper, potato, radish, spinach, and all greens, summer squash, sweet potato, okra, onions, lettuce, turnips, carrots, and scallion. Blueberries, currant and strawberry are the fruits that you can grow in containers. Grow herbs in containers are a good choice for containers. Grow herbs in a medium size pot.If you are growing herbs for aesthetic reasons, grow several perennial herbs in a large containers.Sold herbs that match with the same growing conditions. Summary Using vegetables in different sizes containers is really a great idea especially if you don't have the space to grow a regular size gardens. Different types of herbs can also be planted in containers.
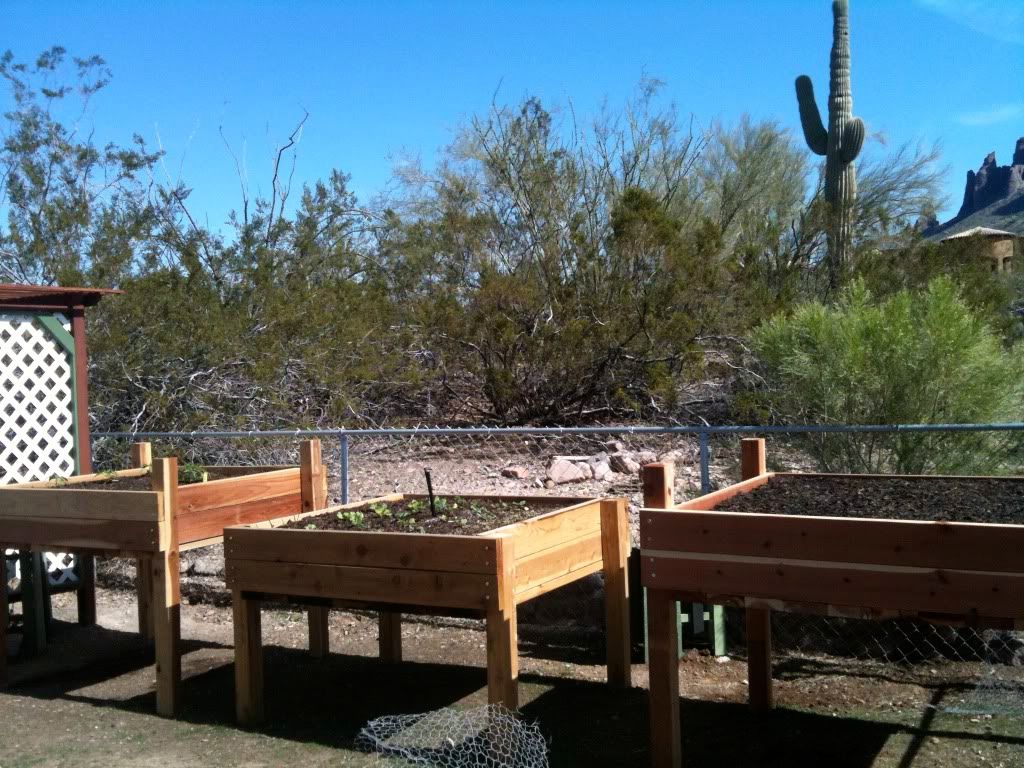
When you are ready to make a raised garden bed, you will need to fill it with high-quality topsoil and always water it a lot, which will be where you will be growing healthy plants. These gardens are elevated and low-maintenance.
Tools and Materials Tools- stakes, string, shovel, level, drill, hammer, saw horse, reciprocating saw. Materials- 8 feet. 6x6 timbers [6 ], galvanized roofing nails, 5 inch barn nails [ 12 ] landscape fabric, topsoil, plants, mulch
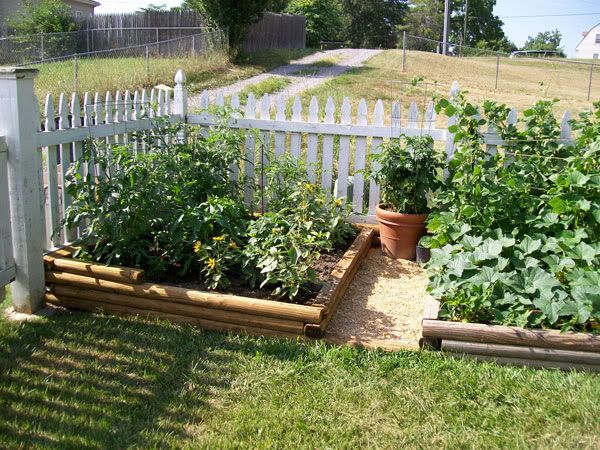
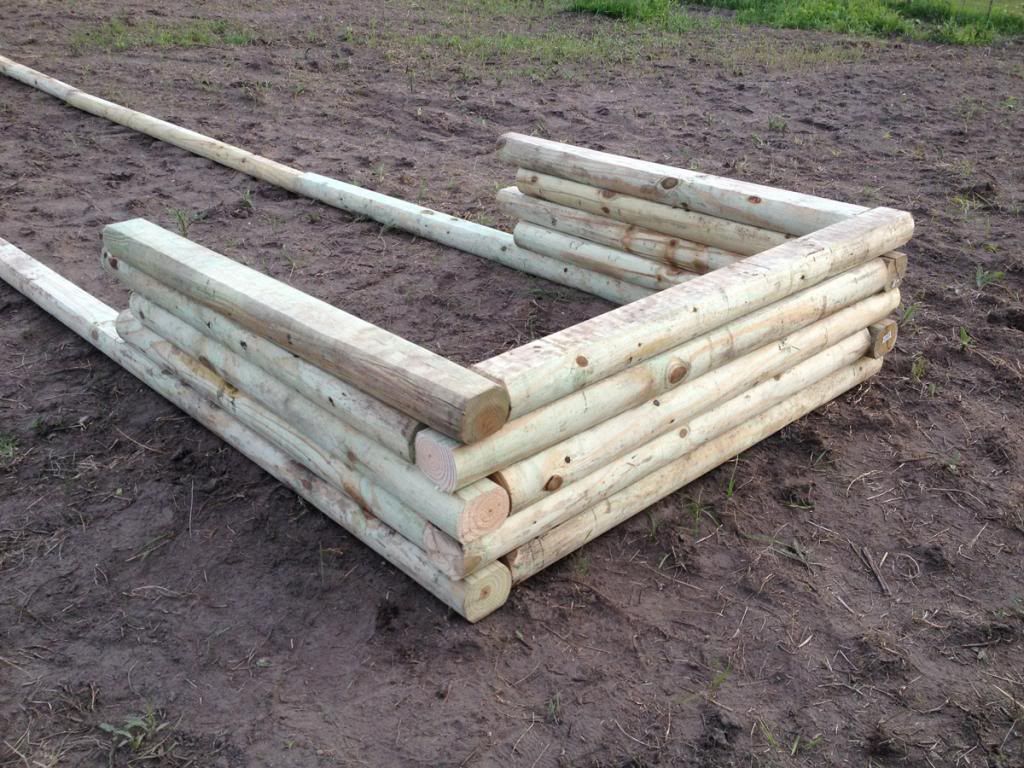
Raised beds can be used as a landscape design. Raised beds can be used out of different materials such as stone, brick, wood timbers, and interlocking block. The bed is 5 x 3 feet and 18 inches deep. The timbers are stacked flush on top of each other in three layers which are secured with galvanized bar nails. Drainage holes are drilled into the frame so you can keel lined it with landscape fabric to prevent problems with weeds and keep the drainage holes from clogging up. If you plan on planting vegetables or shrubs in the raised bed , you will need to put landscape fabric on the sides of the bed only, because these plants have real deep roots.
Before you start to make your raised bed, always have in mind of what your plants are going to be so you will have the right site. Vegetables and sun-loving flowers need full sun which is 6 to 8 hours of direct sunlight everyday. If you do not have a spot like this, then you will need to build your raised garden bed in a shady area, with woodland and shade loving plants. nearby. Step 1. A. Using your stakes get your area stakes out and use your string to mark the location of your bed. Then take your shovel and remove all the grass and weeds inside the area. B. Now you will need to dig a flat trench two inch deep by six inches inside the perimeter of the area just inside the stakes. Step 2 A. Measure, mark, and cut each of the timbers into one 54 inches piece and one 30 inches piece. B. Take a wood sealer protect ant, and coat the cut ends of each timber. C. Put the first row of the timbers in the trench. Use your level and positioned it across two timbers, then add or remove soil if you need to get them level. Step 3 A. Put the second layer of timbers, staggering the pattern to cover the joints in the first layer. B. Take your drill and put 3/6 inch pilot holes through the top timbers to the bottom layer near the ends of the timbers, then take your hammer and hammer the galvanized barn nails. C. Now you lay the third row of the timbers doing the same pattern as before. D. Drill pilot holes through the third layer of timbers into the second layer of timber, making sure you will be able to avoid hitting the nails underneath. Drive nails through the pilot holes. Step 4 A. Always drill 1/2 inch drainage holes every two feet into the bottom layer of timbers. B. Take the strips of landscape fabric and line the inside of the bed with them. C. Hammer roofing nails through the fabric to attach it to the timbers. Step 5 A. Put the bed with topsoil within four inches to the top. Tamp the soil down lightly with a shovel. B. Now it is time to plant. You will need to loosening the root balls before planting. Apply a three inch layer of mulch. Then it needs to be water thoroughly.
Raised beds freeze faster and deeper than when you have in the ground planting beds. The outside edge of the bed has wider temperature difference than the inner core, put annuals and hardy perennials along the sides and tender perennials and bulbs near the center, where the soil temperature is more stable. Raised beds dry out faster than in ground beds so you will have to water a lot. Summary If your soil is not good, you can have a raised garden bed and still have your vegetables or flowers.,
There are many different kinds of tools that gardeners need to have to work in their garden.
There are so many different tools on the market that can be overwhelming to everybody. It is important that I enjoy using my gardening tools, so comfort needs to be the first consideration. I always try out the garden tool for ease of handling before I buy it. The shaft of a fork, spade, or rake needs to be the right length so I do not have to stoop, and the hilt or handle should be easy to grasp when I am wearing gloves, the weight and balance should feel right.
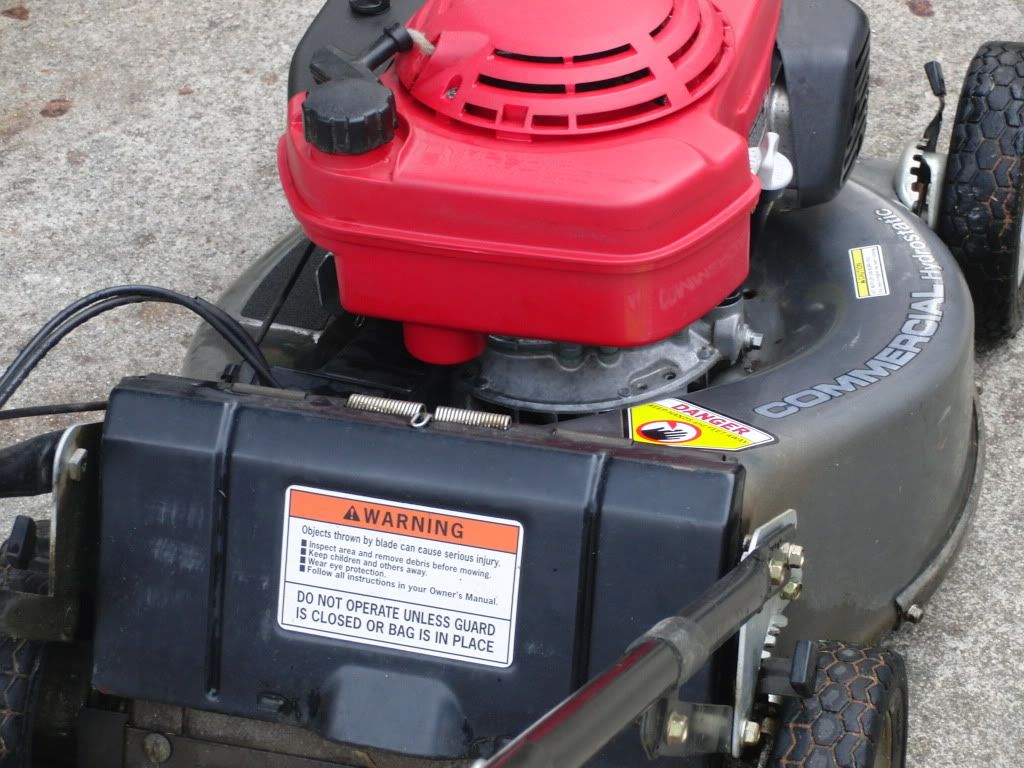
Spade I will need a spade to dig planting holes for shrubs, trees, and large herbbbbbbaceous plants. A spade is also used to spread any manure, compost, and mulching materials The blade should be sharp. If I have a forged steel blades, then this one can be sharpened when they lose their cutting edge. Digging is the hardest on the back, I always make sure my spade handle is long enough. Watering can Buy a 2-gallon watering can with a long spout that I can water all of my plants with it. Trowel Trowel is probably a tool that I will used the most for all of my weeding and planting. In buying a stainless steel trowel is the best thing to do. A second trowel with a narrow blade is useful for planting bulbs and also getting out weeds with taproots, such as dandelions. Shears I will need to have a pair of shears that I will need for flower gathering, dead-heading and pruning of branches up to 1/2 inch in diameter. The shear's handles need to be comfortable to grip, and they will not slip in my hand, always make sure that the handles do not open too wide for your handles. The safety catch of my shears need to be operated with one hand. Mower The kind of mower I need to get is according to what kind of jobs that I will be using the mower for a small, hand-operated push mower will cut in widths of about one foot and I can also get a tractor. Clippers I have hedges so I will need these shears are essential equipment. They are used to tidy up grass where my mower can not reach, against walls and around the base of trees and shrubs and for clipping plants such as lavender. Some people uses clippers to prune roses. Summary Since I want to plant a garden and a flower bed, the tools that I have talked, about in this article I will need to get from a store.
Usually when a person think of fall colors, trees comes to many people's mind, like the beautiful leaves on a sugar maple, but there are many shrubs that have very beautiful leaves on them. Shrubs not only have beautiful leaves, they also have fruits and berries on some of the shrubs.
Shrubs have many advantages over trees. Most of the shrubs will cost less money than trees. Shrubs mature more quickly and they provide good color the first fall after they are planted. Some good reasons to have shrubs in your yard are they do double duty by providing barriers, screens, ground covers or spring flowers. All the shrubs that I will be talking about in this article are easy-maintenance plants. They also offer great fall color and they are for all over the country. There may be many other shrubs that would be available in your area that I want be talking about in this article. Always talk to your negibos or garden centers where you are living in. Cranberry bush has red autumn fruit. In the spring it has flat, lacy clusters of white flowers. In fall their leaves range from yellow to red-purple. It is hardy to 50 degrees F. and this shrub reaches up to 15 feet high and wide. Cranberry cottoneaster is a low wide-spreading shrub that reaches up to three feet high and three to six feet wide. It has dark, glossy green foliage in the summer and it turns to red or purple in fall. These shrubs has bright red berries, and they usually fast for several months. This shrub is hardy to 30 degree F. Dwarf fothergilla is grown mainly for its intense yellow and orange-red fall foliage. In the spring, its bears clusters of honey-scented white flowers. This shrub prefer acid soil and it is hardy to -30 degrees F. Witch hazel grows very high and very wide something like 15 feet. The winter flowers range from yellow to orange to red. Some of the fall foliage will be a single color or a mixture of red, yellow, and orange on the same plant. Rugosa roses are very hardy shrub roses that has prickly stems that will grow as high as 3 to 8 feet. This shrub also provides fragrant 3 to 4 inches blossoms and their colors are pink, white, and purplish red. In the fall, you will have bright red tomato-shaped fruit, about one inch or more across. It is real hardy to the degree of -50 degrees F. Winterberry has crops of bright red fruit that ripen in fall and can last all winter. It is hardy to -30 degrees F. Firethorns has large, dense clusters of pea-size fruits range from red to orange to yellow, depending on which type of shrubs you get. Fragrant sumac has attractive three inch glossy green leaves that release a fragrance when you touched or crushed. It is hardy to -40 degrees F. Heavenly bamboo has white flowers in midsummer and in the fall this shrub has orange-red pea-shaped fruit. It is hardy to 0 degrees F. Summer sweet grows 10 feet tall. In the summer this shrub has white flowers on the branch tips. The 2 to 4 inches leaves turn yellow to golden in the fall. This shrub is -40 degrees hardy. Burning bush has red fall foliage. The plant grows 15 to 20 feet wide and high. It is -30 degrees F hardy. Japanese maples has delicate deeply cut leaves that grows 2 to 4 inch long. They are hardy to -20 degrees F. This spring growth is red, the summer leaves are soft green and the fall foliage is scarlet. Oak leaf hydrangea has large, showy, cone-shaped clusters of white flowers in early summer and in the fall this shrub has eight inch oak like leaves that are either crisom or bronze. It is hardy to -20 degrees F. Purple beaautyberry has clusters of 1/8 inch fruits in an unusual lilac violet color. In cold winter areas, these shrubs may freeze to the ground, but do not worry, it will come back from the roots. It is hardy to -20 degrees F. Japanese barberry has small rounded leaves that turns yellow, orange, and red in fall. It is hardy to -30 degrees F. Red choke berry grows up to six to eight feet high. In the summer this shrubs has bright red fruits in late summer and it does well into winter. Fall leaf color on this shrub is a bright red-purple that lasts for several weeks. Black choke berry has ripe fruit that it is blacklist purple. It is hardy to -30 degrees F. Summary There are many different shrubs that you can put in my yard to have so much pretty color for the fall.
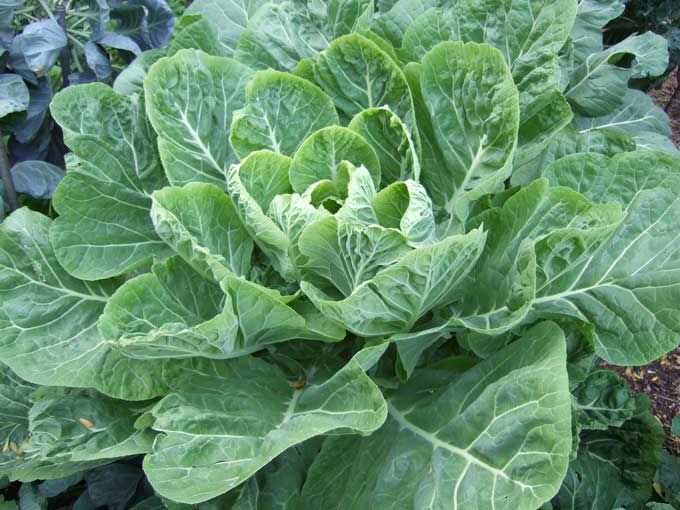
My family and I live here in the South and in the fall, one of the South's favorite vegetables, comes under the name of 'greens'. Down here in the south, the 'greens' consists of collards, mustard, turnip, and other greens grows real good in the vegetable garden, and it is an excellent time to plant them.
Greens are real good for the home vegetable garden, because they are very easy to grow and they produce a lot of greens for the family, friends, and neighbors. Another good reason to grow greens in the winter, is because this is a great way to keep the vegetable garden producing through the winter.
Turnips and mustard are very fast-growing greens, and I can harvest them as early as five or six weeks after I plant them. I can either harvest the whole plant or I can just crop, which means I am just going to remove the lower, larger leaves. When I crop my green plants, I am harvesting some of the plant's leaves and this allows the plant to continuing growing. This allows me to be able to extend the harvest. Sometimes, we have a mild winter, and when we do, I can cropped my turnips and mustard and have them in late winter or early spring.I have to remember that cropping my turnips, it will reduce the size of the root, so I reserve a portion of my turnips for root production. On these plants, I will not harvest any leaves.The leaves use photosynthesis to produce food that is transferred to the roots for storage. That storage root develops into nice-size turnips ready to harvest in eight or nine weeks.
Collard greens can be grown year-round, but fall is the best time to plant collard greens and when they get a frost on them, this will make them sweeten, so they are more tastier. I plant the seeds two inches apart, and then I will thin the plants out to a space of ten to twelve inches between plants. I then harvest them by cropping the older, larger leaves. Collards tolerate higher temperatures, better than any of the other types of greens. They are very cold tardy and they can survive temperatures in the 20 degrees without damage. When I was growing up here, we always had gardens year-round.
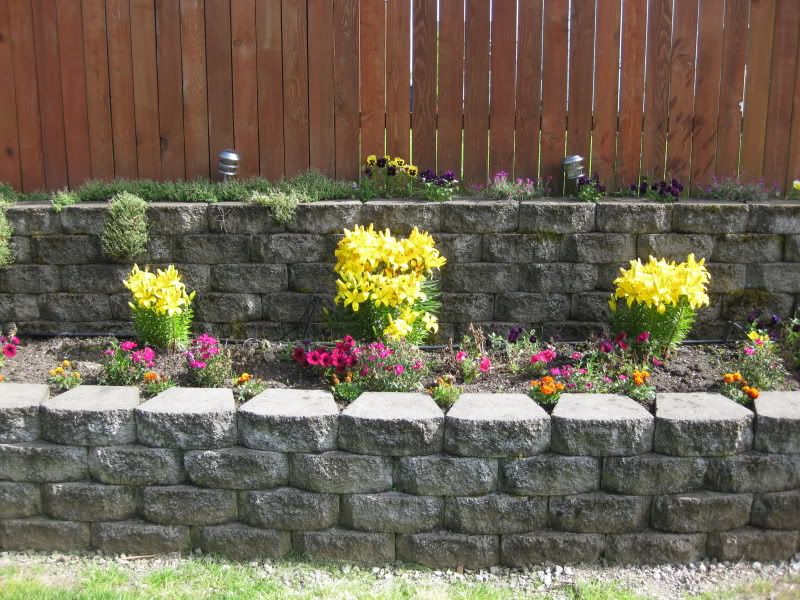
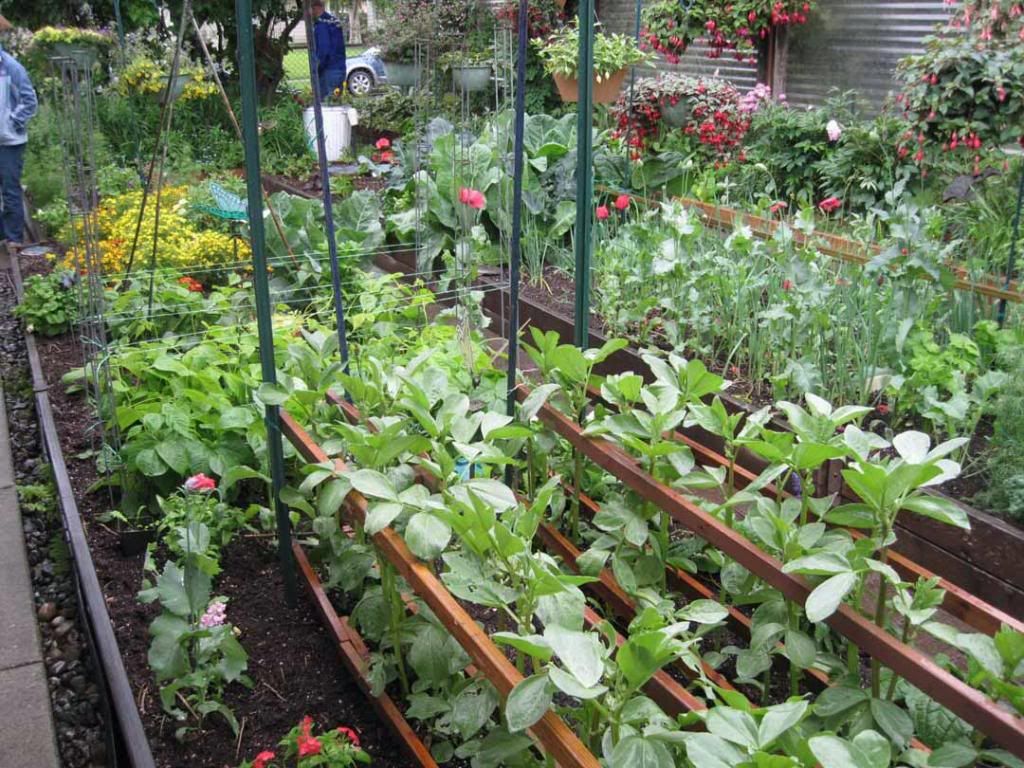
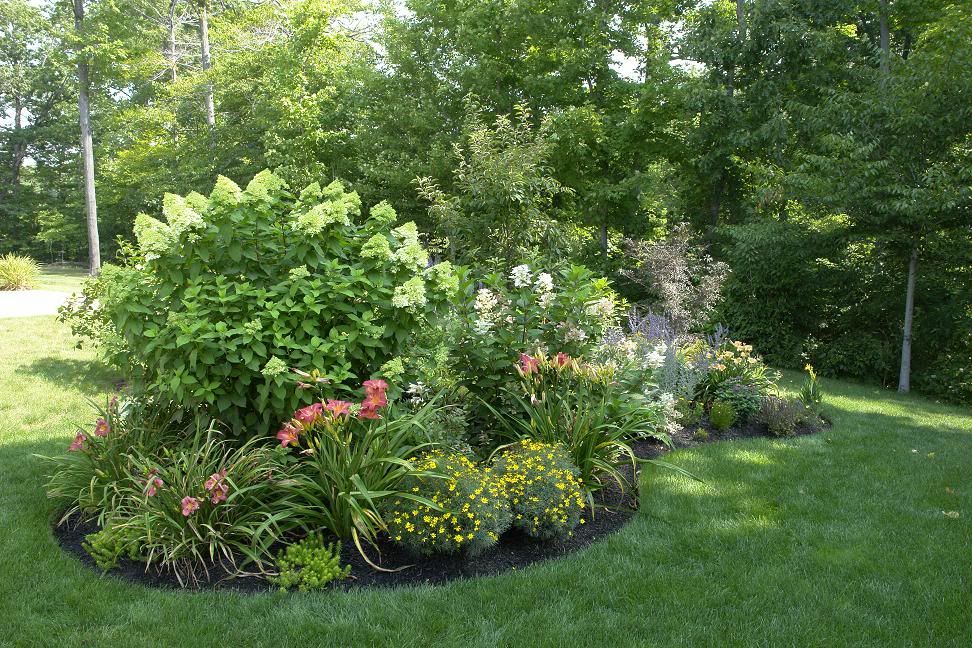
If a person lives where the space is very limited and you still would like to plant a few vegetables, herbs, or fruits, there is a place that you can plant them and that is in a flowerbed. Many vegetables have attractive foliage flowers, and fruit. Just be careful that you don't plant anything like mint and Jerusalem artichoke because these plants will quickly spread all over the place. When I make up my mind on what I am going to plant, I need to make sure that all of the flowers and vegetables will go together. Always remember to always think about the height of everything. Put all the taller plants the shorter ones in front, so if I go by this a border that is attach to my flower bed will be good for everything.
Many vegetables are annuals, so I can use the less tender type to fill gaps early during spring. After this has been grown and use up then I can put annual flowers in the same area that I have my vegetables before. As the summer progress any of the fruit-bearing vegetables, tomatoes, beans, peppers, and eggplant, will look good beside my flowers. Corn can be planted in case, I do not want ornamental grasses. Make sure that all of my plants are able to have enough space to grow. I will need to be prepared to feed and water all of my plants.
Doing the winter, some crops that I can plant in my flower bed border are kale, leeks, and chicory. By my flower bed border is close to a fence planting pole beans will be nice to plant there and train them to climb my fence. Since I still have room in my flower bed, planting herbs and fruits are two more good types of plants to plant in my flower bed. Herbs that are good to use in my flowerbed are bay and rosemary. Sage is also another good herb to plant, along with parsley, chives, and basil.
Blackberry and raspberries are good for ornamental border. Blueberry is also another good one to plant in the flower bed. When I am using a flower bed don't except a whole bunch of produce to be harvest. I am using a small area. Keep all of my plants water real good and fertilize my plants. While I am watering my plants, I will check for pests and always take action if I do find any pests. Here are some vegetables that are suitable to grow with ornamental plants. Bean bush, beet, cabbage [red or savory types], carrots, chicory, eggplant, fernel, kale, leek, lettuce, [especially red and loose- leaf types]., orka, pepper, tomato [may need support], swiss chard, and summer squash. Some vegetables that are climbing ones that I can use in my flower beds. They are tomato, pole bean, cucumber, pea, beans and winter squash. All of them will need support of some kind, because most of them need support.Other materials that I will need are a hoe, water hose, tiller, rake, seed planter, and a machine that I can use to fertilize the crops. Summary I love to have flowers planted where I lived, and I also would like to grow some vegetables that I like to eat I would be able to plant both flowers and vegetables in my flower beds. I like to have fresh herbs to use, I can also grow them in my flower beds. So flowers, herbs, and vegetables can be grown in one garden space, so that is good. ">
Heirloom gardening means different things to gardeners. It is related to vegetables and the use of the tried and true, noncommercial earlier varieties, rather than modern commercial seed strains. Home gardener's interests has turn to far or the older varieties for their good flavor, long period of productivity and special characteristics such as looks, color, and history.
Heirloom gardening begins with time-tested choices, that have been handed down for multiple generations. The garden plants including fruits, vegetables, bulbs, trees, shrubs, annuals, and perennials. These plants were not available commercially for several years, with two different places that you could collected from gardens and historic sites. Some people would go back to their grandma's place and collect cuttings of myrtles, Althea's, quince, crape myrtles, and roses.
Fragrance is a very good reminder of the olden times. Winter honeysuckle, gardenia, and other plants bloom, the smell will make you think of the earlier time. Heirloom gardening is also how we placed plants in our landscapes. This is two different designs that you will find in heirloom gardening. They are parterre and cottage garden. Parterre relates to application of patterns for walks and plant arrangement. Parterres can also appear in bigger settings which is also called a cottage garden. The pattern may be hedges of dwarf myrtles, boxwood, and other low-growing evergreens.
Heirloom favorites for Southern gardens include bulbs. Old gardens, cemeteries, and country home sites have gladiolas, snowflakes, marcissus, amaryllis, and many more plants that have been there for many years. SUMMARY
There are really no rules pertaining to heirloom gardening. The best thing to do is to have plants that youknow that they will reflect the charm, history, and sense of place. ">
There are several abiotic disorders that can create symptoms on camellias, azaleas, and rhododendrons. Iron Chlorosis Analysis- Iron chlorosis is a problem because these three plants are acid-loving plants. This is caused by a deficiency of iron in plant tissue. Even if your soil has iron in it the iron is not available to the plant because it is in an insoluble form. If your plant is close to concrete paths or walls and it is in a naturally alkaline areas, you will likely to have iron chlorosis.
Symptoms- The leaves are sometimes pale green to yellow. The new leaves can be completely yellow, with the tissue and veins remaining green. Treatment- To treat your plants you will need to increase soil acidity by adding iron sulfate, sulfur, or ammonium sulfate. After you do this check the soil pH and if you need to add more chemicals, do it now. Another way to do this is by mulching soil with leaf mold or pine needles and them use a fertilizer that is formulated for acid-loving plants. If this does not help then you will need to spray the foliage with cheated iron. Salt Burn Symptoms- The leaf edges of these plants will turn brown and brittle. The lowest leaves on a plant which is the older leaves, the browning will occur.
Analysis- This happens when excess salts which are in the soil that are taken up by the plant and it all goes to the leaves. Salt burn is usually found in areas that are long-term or short-term low rainfall and when to much fertilizer has been used. This problem can just in acid or alkaline soil. If you have these plants planted in containers or in poorly drained soil, there is a chance that you will have this problem with your plants. Windburn, Sunburn, And Winter Injury Symptoms- The symptoms are that the young, exposed leaves will turn dry and brown, particularly around their leaf edges, and near tips. One part of your plant may look healthy, while the other part of the plant looks real sick.
Analysis- If you plant your plant in a cold climate, or in a windy or sunny location you will have this problem. Excess heat and sun can also cause this problem. Plants that are growing in windswept locations., will get windburn and winter injury. When the winter temperatures goes below 32 degree F and if you have strong winds this will cause the leaves to lose moisture a whole lot faster than the roots can replace and they causes these problems. Leaf burn will occurs on very windy, dry, summer days or excessive sun in hot temperatures. Treatment- Plant shrubs in locations protected from sun or wind will help this situation. Shrubs need to be well-watered during the hot, windy, time. Always water in late fall and winter time to make sure that they are having enough water. Summary Camellias, rhododendrons, and azaleas have several physiological or abotic disorders. Probably if you go by all of these treatments, this should help all of your problems.
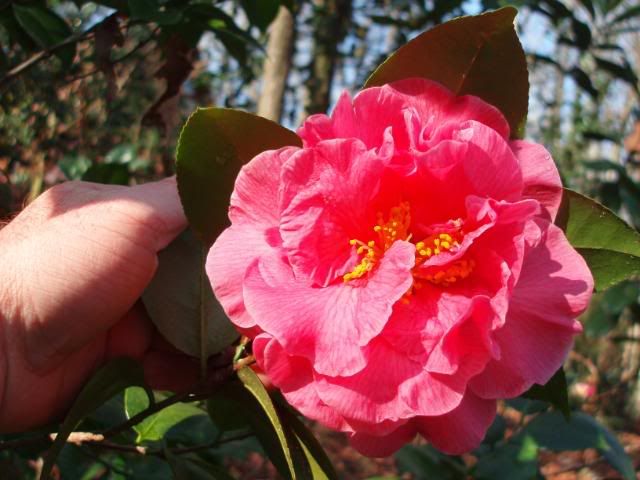
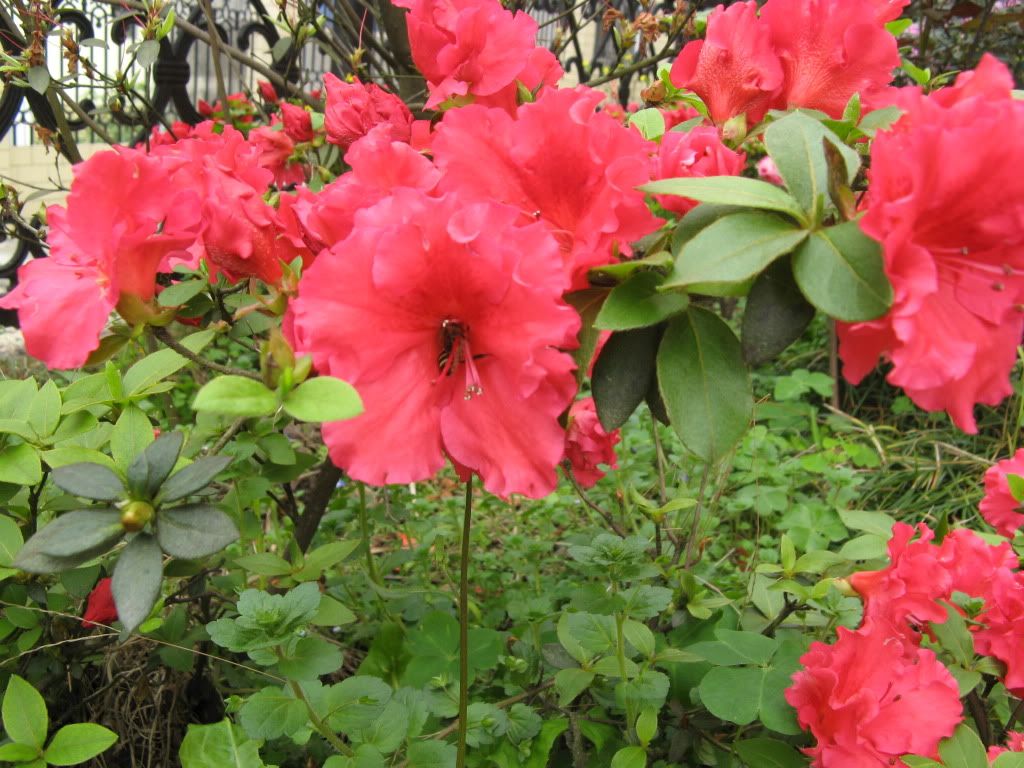
These two ornamental shrubs you can find in yards all over the world. Azaleas has a signature characteristic and it is the vibrant displays of color. The signature characteristic of the rhododendrons is their spectacular and dramatic flower clusters.
These two plants grow in a variety of shapes and sizes. They also have handsome foliage with diverse, texture, and they have good versatility in landscapes, does not matter whether they are in beds, borders, and containers. Rhododendrons and azaleas are similar in many ways. The two have similar cultural requirements and their landscapes uses are the same. The two plants have differences in their adaptability, history, and physical characteristics of development, size, leaf texture, and flower type. The similarities which includes that they all like humus-rich moist, slightly acid, well-drained soil, and they require some shade for best performance. If you want your plants to performed good, plant them by established trees that provide afternoon shade. They also look alike from afar with their glossy, dark green leaves and shrubby habit. They look very good together. Native species of azaleas, and rhododendrons are found in a triangle of Asia, including Nepal, parts of southwestern China, and northern Burma. There are differences between rhododendrons and azaleas. The leaves of the rhododendrons are leathery, and the flowers are in large clusters at the ends of the stems. Azaleas have small leaves and profuse flowers scattered over the entire shrub. Both of the plants have small leaves. The difference between the two plants are the undersides of their leaves. Lepidote rhododendrons are covered in tiny scales, whereas, the azaleas have no scales.
The leaves of rhododendrons are thicker, darker green and more robust appearing. The flowers of azaleas are smaller than the rhododendron's. They both have very pretty flowers. Differences between rhododendrons from azaleas.
AZALEAS Azalea s leaves are small,, narrow, and painted. The undersides of leaves have small hairs and the leaves are easier, thinner, and softer than those of rhododendrons. Flowers are flatter than rhododendrons. Flowers are on the sides and on the sides and on the tips of the stems. Flowers has five lobes and five stamens.
RHODODENDRONS The leaves are broad, long, large, and leathery leaves. They have smaller leaves than azalea leaves. The leaves are heavier in texture, and usually hairless. Flowers are more bell-shaped and they are larger than azalea flowers. Flowers have large clusters of each blossoms at the ends of the branches. Flowers have five to seven lobes and ten or more stamens.
I think that any vegetables or fruits that you grow your own self, they always tastes better than any that is store-bought. They are also more tender than store-bought. This plant produce one main central head and it also has many smaller side shoots and this means that the harvest will be prolong. The florets freezes real well, so if their is any surplus they can be preserved for later use. If their is any surplus they can be preserved for later use. If there is not any space to start the plants off in doors, direct so wings outdoors in the summer perform extremely well. Broccoli is a vegetable that prefers a rich, well-drained soil, so I will add a big amount of organic matter which will be well-rotted manure or compost and I will do this the season before I will be planting in that area. I always make sure that no other members of the brassica family have been planted in this same location in the past three years and this helps to prevent the build-up of soil diseases. Calabrese broccoli can be sown under cover either in pots or large trays, that can be transplanted later on. I will put seed compost in the containers, then I will firm the compost, and I will water well, and make two holes each pot or module, that are 1/2 inch deep. I will drop a seed into each hole that I have made then I will cover with compost, and then I will water them lightly. After they emerged, I will thin the seedlings to keep the strongest ones. Sometimes I will plant the seeds outside. I will plant the seeds outside. I will need to create a seedbed and make my rows twelve inches apart, and I will sow three seeds every eight inches into holes that are 3/4 inch deep. I will thin out the seedlings, so I will have the strongest seedlings, and I will put pellets down to protect my seedlings from slugs. When my indoor-sown plants are six inches tall, I will harden them off and then I will plant them out in my garden, at eight inches apart. I keep an eye on my plants so they do not get root-bound because that can cause the premature formation of small heads. Keep the plants well watered and keep the plants well weeded. I put aluminium foil around each plant to deter cabbage root fly. I divide up my plot by using bamboo poles and string, because this helps with my plant spacings land it also acts as a support for netting. Sometimes I will need to tied my tall plants to bamboo poles to give them sufficient support. The routine care of the plants, as the heads of the plants begin to develop, I will put soil around the base of the stems to stabilize them and this is called earthing up. Now is the time to add a granular high-nitrogen fertilizer and I do this because this boost the main head size, and it encourages of the production of side shoots so I can have several different ones. I will put a frame of the netting over my plants to keep the birds out especially the pigeons. I do this to keep the cabbage white butterflies and the mealy cabbage aphids. The net has to be fine, with a maximum mesh diameter of 1/2 inch to stop the adult butterflies from reaching my plants. I can start harvesting my crop in approximately three to four months after I sow them, which depends on the variety and the time of the year. I will cut the main head off first, and then, when the smaller side shoots appears, I will harvest them. The younger leaves of broccoli can be eaten as well.
Using pots is a real good way to be able to raise different vegetables and herbs in them, in case, you do not have a big space for your garden. Some more benefits of using containers is it makes it easier to weed and having them where I can move them under cover when this is necessary. I can also grow a wider choice of crops, because I can choose the soil type, which means I am not limited to crops that I can grow in your garden soil. I must water and feed allot, so I need to invest in an automatic irrigation system. To be able to conserve moisture, I can add water-retaining gel to my compost and mulch the surface to keep the water from evaporation. Choosing the right container. Containers needs to have drainage holes in the bottom to allow excess water to drain away, and it is according to what material my container is made of, as it will determine how quickly they will dry out. Unglazed terra-cotta pots will lose water through their sides, especially if I have them sitting in the sun. Thick-walled concrete tubs are very good about keeping water in. Wooden barrels that has plastic lining in the bottom will reduce water loss. I will need to match my container to the crop that I am going to grow in the containers. To grow roots of radishes and salad leaves, my container choice will be limitless, such as window boxes, tea pots, and old boots, so I can have allot of fun with the way I grow them. Always remember, the smaller the pot is, I will need to water the crops more frequently. If I am growing large crops like cabbage and potatoes, my container needs to have a minimum depth and diameter of twelve inches.
Fruit in Containers I will need to pick a container that is deep and wide enough for long-term fruit crops, which it needs to have a minimum depth of twelve inches and a width of at least four inch larger than the existing pot. I will need to re pot annually in the early to mid spring time and this is when my tree or bush is still young and the growth rate is rapid. As the plant matures, the growth rate will slow down, so I will need to check the roots and if they are not yet filling the compost, so do not re pot until the next year. When the container is bigger enough to make re potting unnecessary, just 'top-dress' each spring and I can replacing the four inch of compost. Put my pot on 'feet' in the winter to drain. Some people will use different containers for different crops of different sizes and colors. I can put pots with ornamental plants and this will add color and interest to the pots or containers that has edible plants in them that are developing. Different Kinds Of Containers There are so many different kinds of containers that I can used for my garden needs or design. If I have a small space for my garden using containers will be good to use, because some pots can be fastened onto walls and fences which will take up less space. 1. Hanging baskets- Planting strawberries and tomato in hanging baskets would be ideal and planting a mix of colorful and ornamental plants would make a striking appearance. 2. Wall planters- This particular type of a container has to be securely fastened because they will need to support the large plants. The plants has to be kept well watered and the fruits will need to be supported. 3. Terra-cotta pots- These pots come in a variety of different sizes and shapes. They have a rustic-looking to them and this would make a lovely addition to the porch or deck and I will be able to support a variety of crops. 4. Wall-pouches- These containers are great for herbs or salad leaves, but they will need to be watered frequent. These are a space-saving device that allows me to make the most of an unused surface. 5. Window boxes- they are used for crops like salad greens and it would be a great idea to have it would be a great idea to have it easy access to the kitchens for cooking. 6. Fabric bags- One of the crops that I can grow in these bags, will be potatoes because of the depth of the fabric bags. After I am through using these fabric bags, I will need to just fold them up until I will need to grow in them again.