When you are ready to make a raised garden bed, you will need to fill it with high-quality topsoil and always water it a lot, which will be where you will be growing healthy plants. These gardens are elevated and low-maintenance.
Tools and Materials
Tools- stakes, string, shovel, level, drill, hammer, saw horse, reciprocating saw.
Materials- 8 feet. 6x6 timbers [6 ], galvanized roofing nails, 5 inch barn nails [ 12 ] landscape fabric, topsoil, plants, mulch
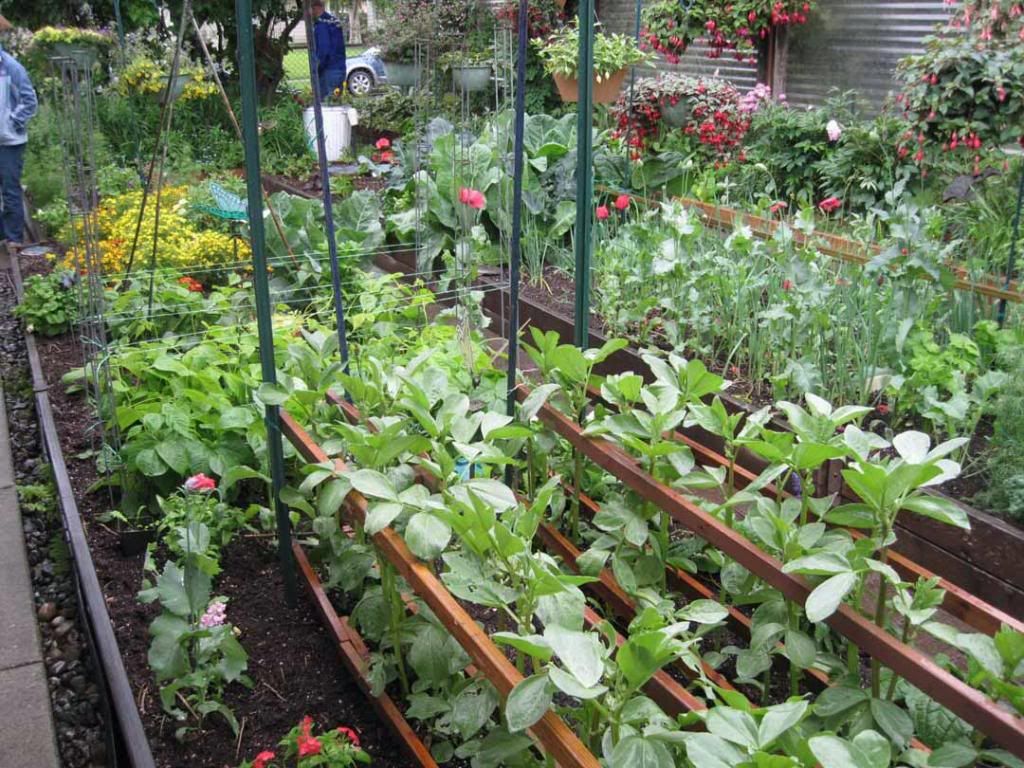
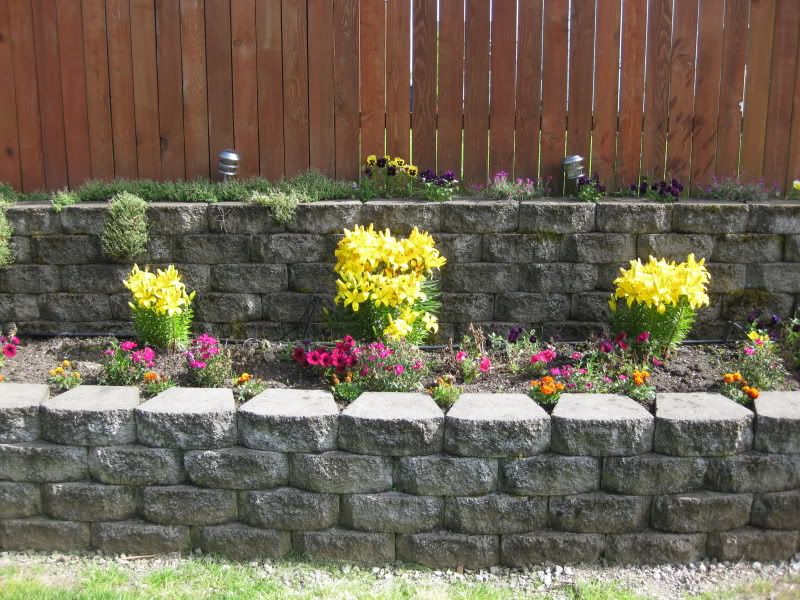
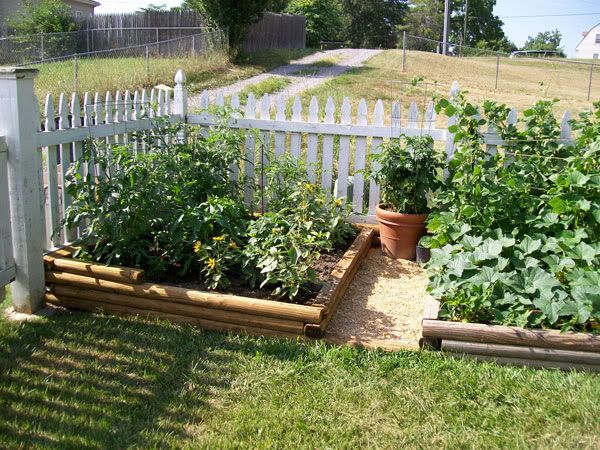
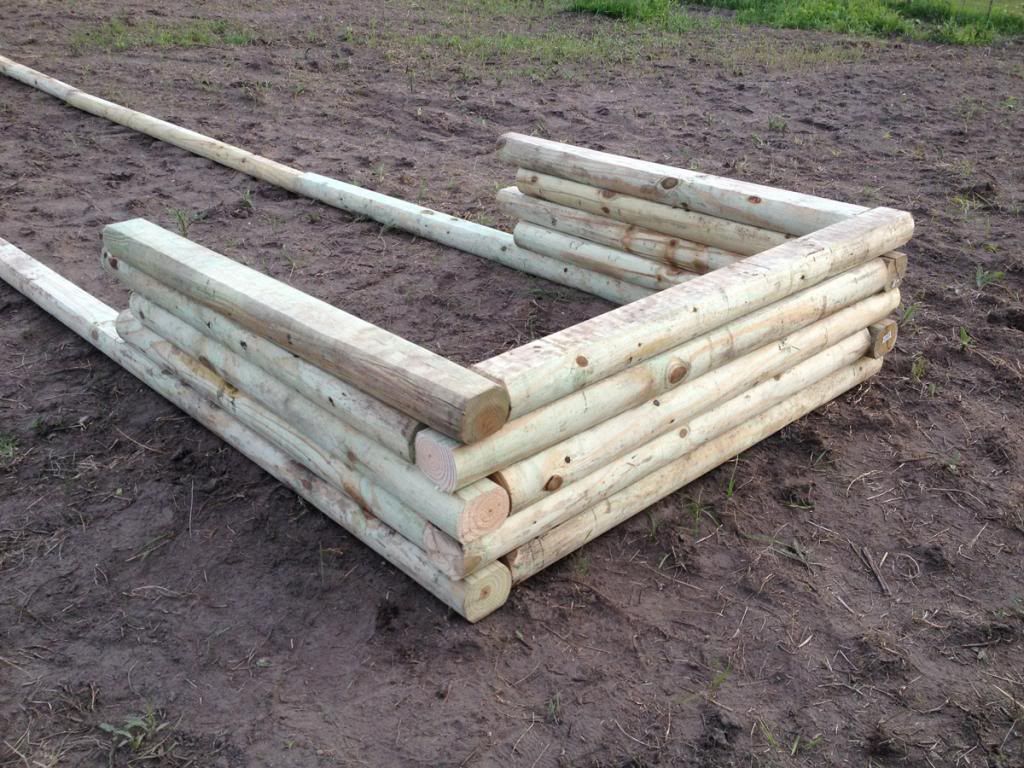
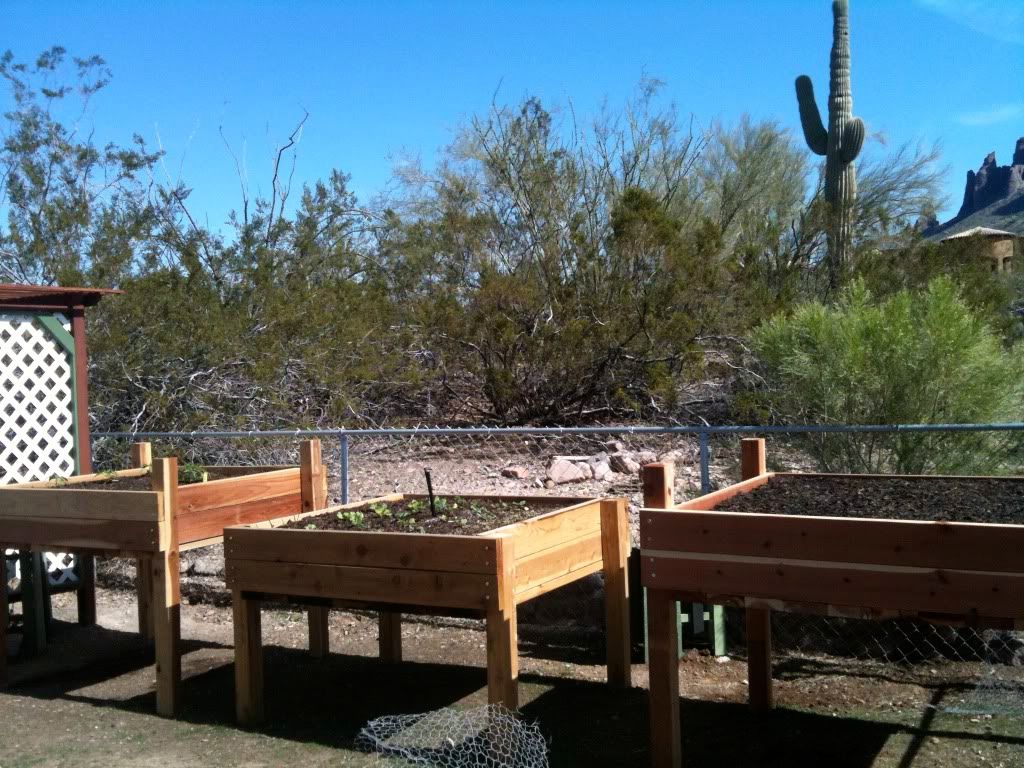
Raised beds can be used as a landscape design. Raised beds can be used out of different materials such as stone, brick, wood timbers, and interlocking block. The bed is 5 x 3 feet and 18 inches deep. The timbers are stacked flush on top of each other in three layers which are secured with galvanized bar nails. Drainage holes are drilled into the frame so you can keel lined it with landscape fabric to prevent problems with weeds and keep the drainage holes from clogging up. If you plan on planting vegetables or shrubs in the raised bed , you will need to put landscape fabric on the sides of the bed only, because these plants have real deep roots.
Before you start to make your raised bed, always have in mind of what your plants are going to be so you will have the right site. Vegetables and sun-loving flowers need full sun which is 6 to 8 hours of direct sunlight everyday. If you do not have a spot like this, then you will need to build your raised garden bed in a shady area, with woodland and shade loving plants. nearby.
Step 1. A. Using your stakes get your area stakes out and use your string to mark the location of your bed. Then take your shovel and remove all the grass and weeds inside the area.
B. Now you will need to dig a flat trench two inch deep by six inches inside the perimeter of the area just inside the stakes.
Step 2
A. Measure, mark, and cut each of the timbers into one 54 inches piece and one 30 inches piece.
B. Take a wood sealer protect ant, and coat the cut ends of each timber.
C. Put the first row of the timbers in the trench. Use your level and positioned it across two timbers, then add or remove soil if you need to get them level.
Step 3
A. Put the second layer of timbers, staggering the pattern to cover the joints in the first layer.
B. Take your drill and put 3/6 inch pilot holes through the top timbers to the bottom layer near the ends of the timbers, then take your hammer and hammer the galvanized barn nails.
C. Now you lay the third row of the timbers doing the same pattern as before.
D. Drill pilot holes through the third layer of timbers into the second layer of timber, making sure you will be able to avoid hitting the nails underneath. Drive nails through the pilot holes.
Step 4
A. Always drill 1/2 inch drainage holes every two feet into the bottom layer of timbers.
B. Take the strips of landscape fabric and line the inside of the bed with them.
C. Hammer roofing nails through the fabric to attach it to the timbers.
Step 5
A. Put the bed with topsoil within four inches to the top. Tamp the soil down lightly with a shovel.
B. Now it is time to plant. You will need to loosening the root balls before planting. Apply a three inch layer of mulch. Then it needs to be water thoroughly.
Raised beds freeze faster and deeper than when you have in the ground planting beds. The outside edge of the bed has wider temperature difference than the inner core, put annuals and hardy perennials along the sides and tender perennials and bulbs near the center, where the soil temperature is more stable.
Raised beds dry out faster than in ground beds so you will have to water a lot.
Summary
If your soil is not good, you can have a raised garden bed and still have your vegetables or flowers.,
No comments:
Post a Comment