Tuesday, February 11, 2014

Getting Started In Using Containers For Vegetables


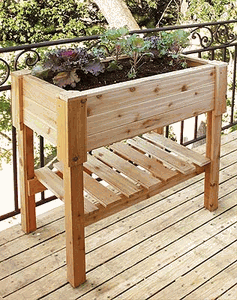
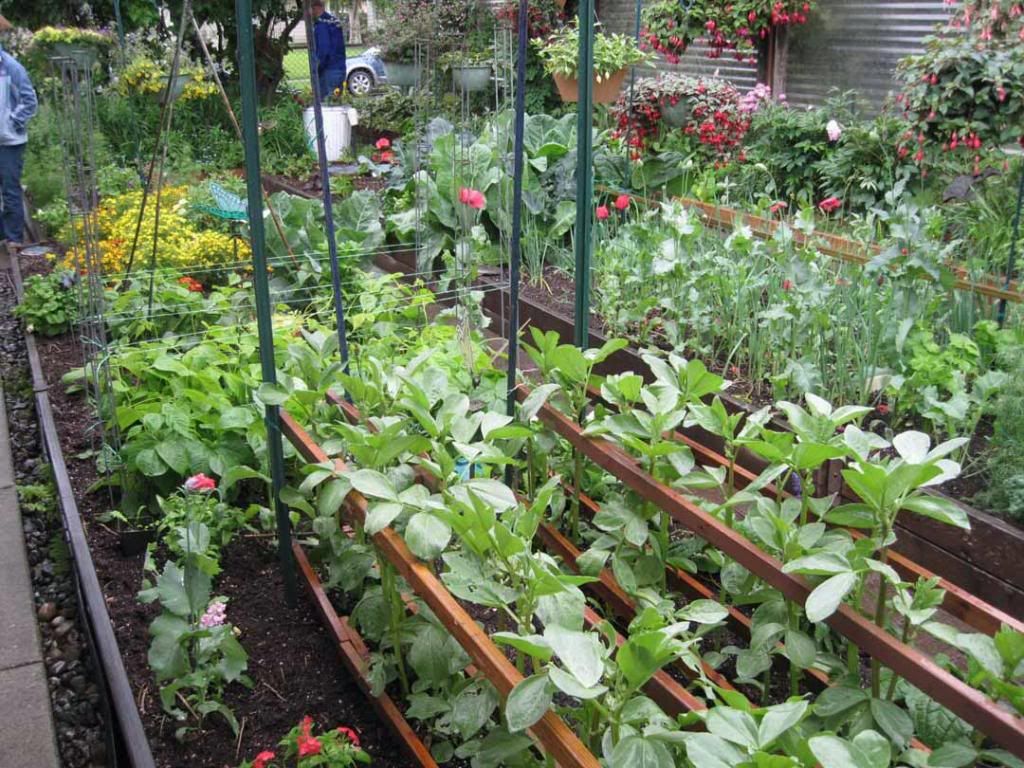
If somebody wants to grow their own vegetables and have limited space, vegetables can still be grown in containers. Herbs and vegetables can be grown in containers . Some people who have a big area for their vegetables garden, they also like to use containers. Maybe they have try certain vegetables in their soil and it does not grow good in their soil, but they grow good in their containers. A lot of people like to grow herbs in containers, so they can have them real close to their house. 


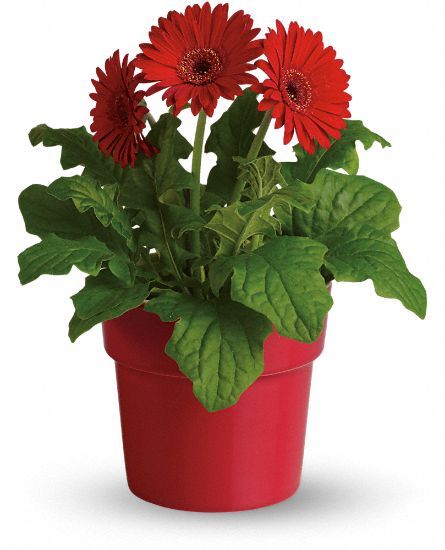
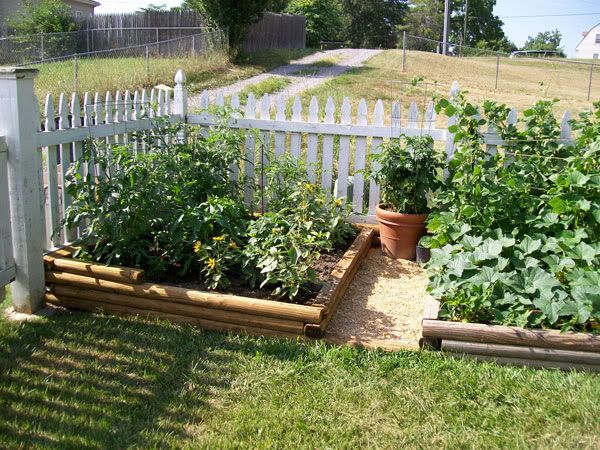
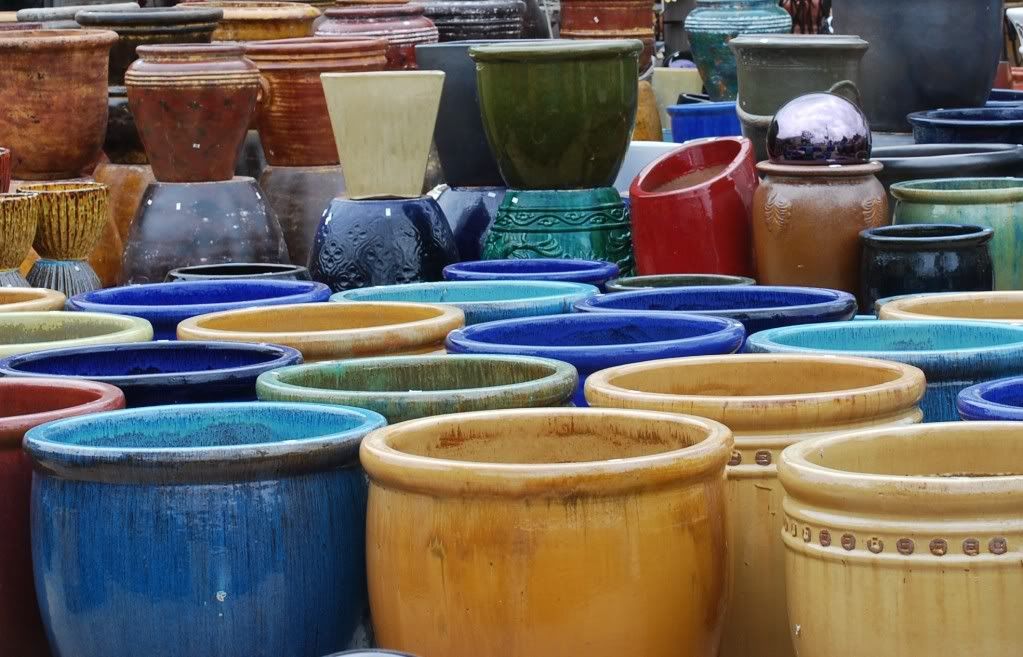
There are many different kinds of containers that can be use for growing vegetables, fruits, and herbs. Some of the different kinds of containers are plastic, clay, or terra-cotta pots. Window boxes and hanging baskets can be used for the same purpose of growing different types of plants. Plastic containers are light and inexpensive, and they come in any style or shape you will want to use. These plastic containers are very good to use for growing vegetables and fruits.


If a clay or terra-cotta pots  is use, it will need to be line with plastic because they will lose moisture rapidly. If you decided not to have the pot permanent fixed somewhere, you will need to make sure you can move the pot because it will be very heavy because of all the soil. If you will be moving the heavy pots, you will probably need to invest in a caddy or another device on wheels, that are used for moving large containers.

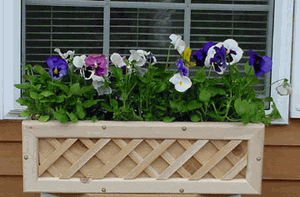
Window boxes are good for growing herbs and leafy lettuce crops. Hanging baskets can be use to grow herbs, small bush tomatoes, and also trailing varieties such as strawberries.


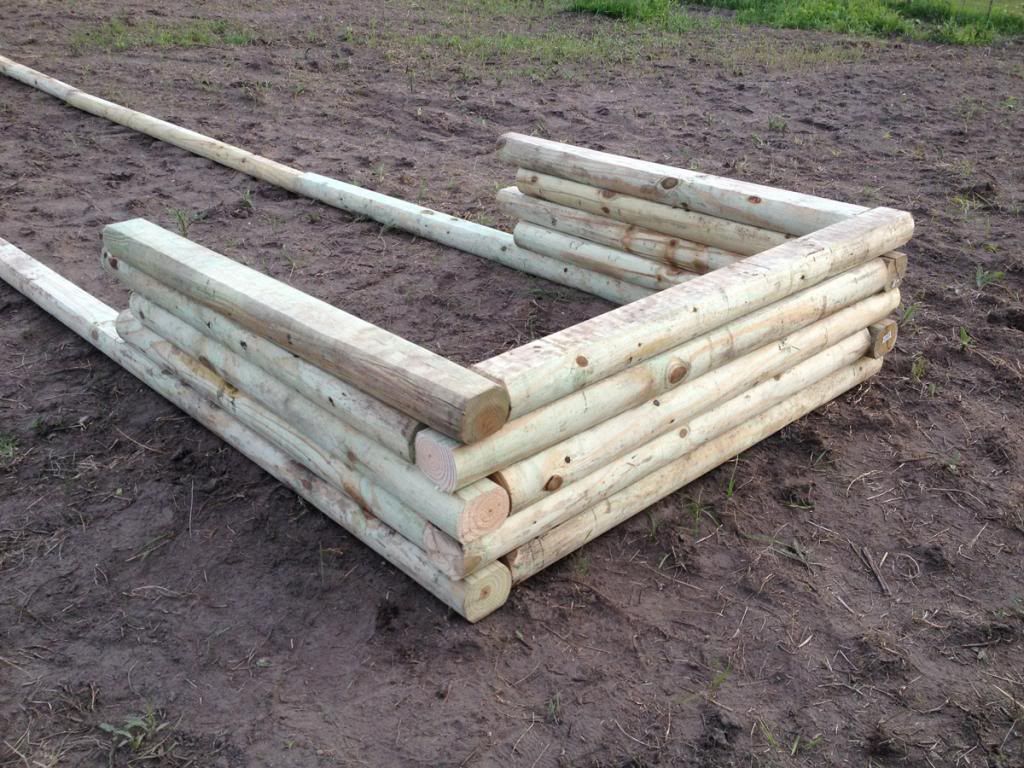
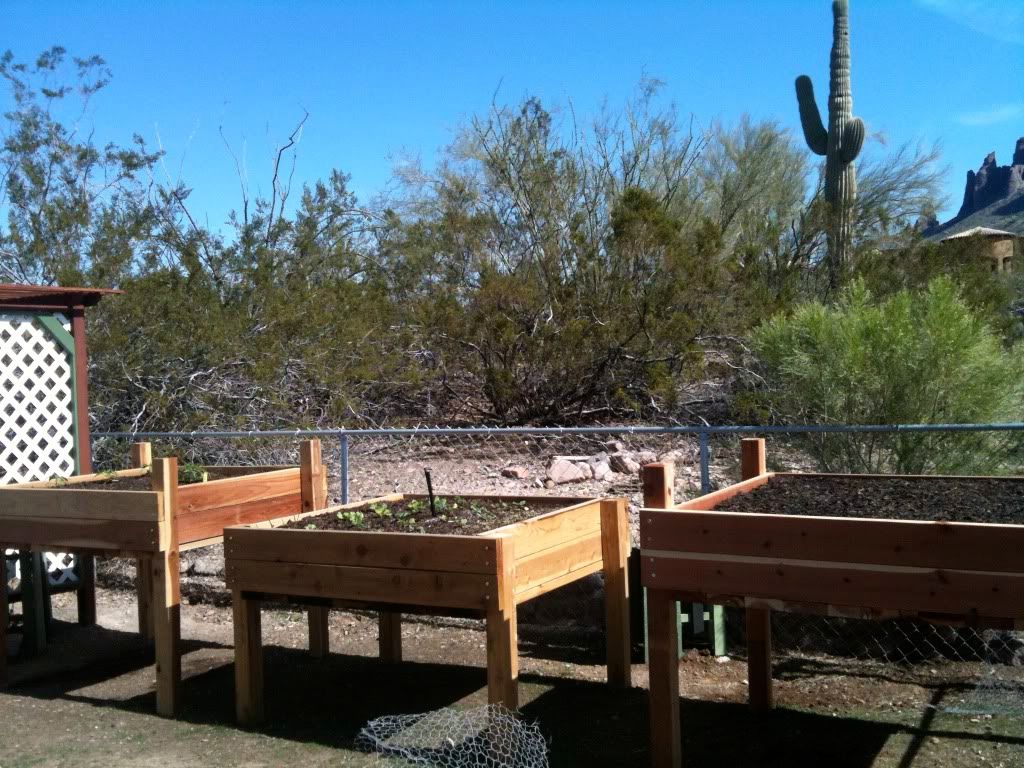
The bigger the containers is the better,because a container will be about the size of a bucket which is about a two gallon and twelve inches diameter and this will be fine for most vegetables. If you are planning on growing larger plants like squash, cucumbers, and melons these vegetables will need to have a container twice the size of the containers that I just talk about.

The depth of the container is also important. The depth of the containers should be at least twelve inches deep to allow a good root run and a reservoir of moisture. Deeper pans will retain water but will need more potting mix for this one. Shallow pots will dry out real quick.


The best one to use as far as, potting soil goes is to go and buy your potting soil from a garden center or store. Any stores that sells garden supplies. Using store brought potting soil it will  be weed free and free drainage and it will retain moisture and the right nutrients to give your plants a real good one. If you make your own compost you can used it if it is completely decomposed and  when you are looking at it the soil needs to look like rich soil. If you are  using compost and do not want to start having problems with weeds or diseases, only fill the bottom half with compost and put the store brought potting soil in the top half.

When the end of the season comes, do not throw the contents of your containers away, because you can recycle the contents by putting it in a vegetable patch as much, reusing it again in your containers or adding it to the compost pile if you have one. If you are reusing your containers always fluff it up and fill the container halfway, then filled the containers up with fresh mix.

Because blueberries and currants have to be in their pots for a longer time, always use a soil-based potting mix instead a soils mixes. Blueberries are real easy to grow in containers with the soil they need to grow. Blueberries has to have acidic soil to grow. For a long-term plants, you can start with  smaller pots, then move to a large one when the roots fill the small one.

Always have your container in a warm, sheltered place and the soil is kept moist, you can sow all vegetables directly into your containers. For crops that are closely spaced such as lettuce, onions, or greens can be sow, allowing a few spaces. Cover with potting mix and always keep the surface moist. When you thin the seedlings in stages do this where you will have an even distribution of plants.

If you are planning on planting large plants, like cucumbers, eggplant, tomatoes, and peppers are best planted individually. Plant these plants in a large container with at least a 2-gallon volume or 12- inch diameter.

If you are harvesting vegetables you will need to move your containers into a greenhouse, garage, or a well-lit room. The potting soil should last about four weeks. After that vigorous, vegetables will need to be fed regular, so use a general purpose or balanced fertilizer for leaf and root crops and a high-potassium one for fruit-bearing vegetables such as tomatoes, eggplant, and peppers.

Watering is the biggest chore when you are growing vegetables or other edible crops in containers. Mid-morning and late afternoon are the best time to water your plants.


Some of the vegetables that are good to grow in containers are beet, pepper, potato, radish, spinach, and all greens, summer squash, sweet potato, okra, onions, lettuce, turnips, carrots, and scallion. Blueberries, currant and strawberry are the fruits that you can grow in containers.

Grow herbs in containers are a good choice for containers. Grow herbs in a medium size pot.If you are growing herbs for aesthetic reasons, grow several perennial herbs in a large containers.Sold herbs that match with the same growing conditions.

Summary

Using vegetables in different sizes containers is really a great idea especially if you don't have the space to grow a regular size gardens. Different types of herbs can also be planted in containers.


Monday, February 10, 2014

How To Make Proper Drainage In Plant's Containers?


To have good plant health,  the plants have to have good drainage. If houseplants do not have good drainage the plants can suffocate  or can develop fungal disease if they are left standing in water, or if their soil remains continuously water. It does not matter what type of houseplants you have, they must all have drainage holes.

If the pot has more than one drainage hole, this is a lot better than have just one drainage hole. If the pot has several drainage holes , the water can penetrate at some point and  cause water to collect at the base of the plant. If the pot has only one drainage hole in it, it can become partially plugged at some point and then cause water to collect at the base of the plant.  By the pot having several drainage holes, the soil leaches out excess salts.


Always check all of the pots regularly to make sure that they are draining freely. If a plant looks droopy and you will need to check the soil and it is only damp, then the plants are probably being over watering the plants or the drain holes have become clogged with soil or roots.


For people that uses pots without drainage holes which are called cachepots, there are several steps that are done  to help out the plants that are growing in them. After the irrigation process, the cachepots needs to be empty of the standing water. The plants needs to be protected against excessive moisture standing around their roots by placing the plant pot on something that is inverted, such as pebbles, pot, saucer, or marbles set inside the cachepot. By doing this it is very good, because it will help keep the roots free of water [standing] and expose them to air and plants need to have both of them to grow.

If the pots are self-watering their will still have excess moisture problems. .It reduces the times a person has to water, but the soil stays wet for long periods of time which creates bad conditions for the plants.


No matter what type of pot you have it is always a good idea to check the soil moisture before the plants are water. If it remains moist, wait until the soil dried. The drain holes needsto be check regularly and if the draining holes are found  to be clogged , the hole needs to be free of the roots or other blockage.

This is how you need to do your pots with drain holes.


Drilling Drain Holes

1. Get your power drill and put a 1/2 inch bit  in. Use a carbide bit for iron and brass  containers, a masonry bit for ceramic or concrete pots.

2. Take some masking tape and crossed the strips to the pot's base, and then mark its center point.

3. Drill the hole, by allowing the bit to work its way into the pot's surface. Do not apply too much pressure which builds up frictional heat.


Applying Sealants

1. First thing the pot has to be prepare by washing and draining it. Then let it thoroughly dry before you begin to apply. 2. Put gloves on, then paint an even layer of latex sealant on the container's inside surface. Allow it to dry.

3.After the containers dry,  apply a second coat of latex sealant to the pot's interior. Then it will need to dry for 24 hours before planting.

Summary

To have good luck with your plants growing in containers, they need to have unobstructed drain holes. They also need to have good watering conditioning, where the plants are not overwatered. The plants should not set in water for a long time because it will causes your plants problems.

How To Build A Raised Bed ?


When you are ready to make a raised garden bed, you will need to fill it with high-quality topsoil and always water it a lot, which will be where you will be growing healthy plants. These gardens are elevated and low-maintenance.


Tools and Materials

Tools- stakes, string, shovel, level, drill, hammer, saw horse, reciprocating saw.

Materials- 8 feet. 6x6 timbers [6 ], galvanized roofing nails, 5 inch barn nails [ 12 ] landscape fabric, topsoil, plants, mulch


Raised beds can be used as a landscape design. Raised beds can be used out of different materials such as stone, brick, wood timbers, and interlocking block. The bed is 5 x 3 feet and 18 inches deep. The timbers are stacked flush on top of each other in three layers which are secured with galvanized bar nails. Drainage holes are drilled into the frame  so you can keel lined it with landscape fabric to prevent problems with weeds and keep the drainage holes from  clogging up. If you plan on planting vegetables or shrubs in the raised bed , you will need to put landscape fabric on the sides of the bed only, because these plants have real deep roots.


Before you start to make your raised bed, always have in mind of what your plants are going to be so you will have the right site. Vegetables and sun-loving flowers need full sun which is 6 to 8 hours of direct sunlight everyday. If you do not have a spot like this, then you will need to build your raised garden bed in a shady area, with woodland and shade loving plants. nearby.

Step 1. A. Using your stakes get your area stakes out and use your string to mark the location of your bed. Then take your shovel and remove all the grass and weeds inside the area.

B. Now you will need to dig a flat trench two inch deep by six inches inside the perimeter of the area just inside the stakes.

Step 2

A. Measure, mark, and cut each of the timbers into one 54 inches piece and one 30 inches piece.

B. Take a wood sealer protect ant, and coat the cut ends of each timber.

C. Put the first row of the timbers in the trench. Use your level and positioned it across two timbers, then add or remove soil if you need to get them level.

Step 3

A. Put the second layer of timbers, staggering the pattern to cover the joints in the first layer.

B. Take your drill and put 3/6 inch pilot holes through the top timbers to the bottom layer near the ends of the timbers, then take your hammer and hammer the galvanized barn nails.

C. Now you lay the third row of the timbers doing the same pattern as before.

D. Drill pilot holes through the third layer of timbers into the second layer of timber, making sure you will be able to avoid hitting the nails underneath. Drive nails through the pilot holes.

Step 4

A. Always drill 1/2 inch drainage holes every two feet into the bottom layer of timbers.

B. Take the strips of landscape fabric and line the inside of the bed with them.

C. Hammer roofing nails through the fabric to attach it to the timbers.

Step 5

A. Put the bed with topsoil within four inches to the top. Tamp the soil down lightly with a shovel.

B. Now it is time to plant. You will need to loosening the root balls before planting. Apply a three inch layer of mulch. Then it needs to be water thoroughly.


Raised beds freeze faster and deeper than when you have in the ground planting beds. The outside edge of the bed has wider temperature difference than the inner core, put annuals and hardy perennials along the sides and tender perennials and bulbs near the center, where the soil temperature is more stable.

Raised beds dry out faster than in ground beds so you will have to water a lot.

Summary

If your soil is not good, you can have a raised garden bed and still have your vegetables or flowers.,